Settings
Overview
The Settings section enables you to view your profile, business, account, settlement, and billing details. It also enables you to manage team members.
Go to the Settings section as follows:
- Log in to the Peach Payments Dashboard.
- In the left navigation menu, click Settings.
Only certain roles can manage settings.
Roles and permissions
The following video showcases how to invite users to the Peach Payments Dashboard:
Depending on your roles, you might not have access to all functionality on the Peach Payments Dashboard:
- Owner: The first person given access to the Peach Payments Dashboard is the sole owner. The owner has access to all functions in the Dashboard. You cannot remove the owner but can transfer ownership to another user.
- Admin: Performs functions that relate to the operation of the business, but cannot change business entity configuration and compliance settings.
- Developer: Performs functions that a business requires to integrate, test, and take a service live. Can view and manage integration settings and credentials.
- Operations: Performs functions that support the operation of the business.
- Finance: Uses financial and reporting tools.
- Support: Performs functions that ensure the smooth running of the business.
- Payouts: Performs functions related to the Peach Payments Payouts product.
- You can combine developer, operations, and finance roles in any way. For example, a user can have both developer and operations roles.
- You can combine operations, finance, and Payouts roles in any way.
| Category | Function | Owner | Admin | Developer | Operations | Finance | Support | Payouts |
|---|---|---|---|---|---|---|---|---|
| Transactions | View transactions | ✅ | ✅ | ✅ | ✅ | ✅ | ✅ | ✅ |
| Refund, reverse, or capture a transaction | ✅ | ✅ | ❌ | ✅ | ❌ | ❌ | ❌ | |
| View connector logs | ✅ | ✅ | ❌ | ❌ | ✅ | ❌ | ❌ | |
| Export transactions | ✅ | ✅ | ✅ | ✅ | ✅ | ❌ | ❌ | |
| Payment Links | Activate Payment Links | ✅ | ✅ | ✅ | ❌ | ❌ | ❌ | ❌ |
| View payment links | ✅ | ✅ | ✅ | ✅ | ✅ | ✅ | ❌ | |
| Create payment links | ✅ | ✅ | ✅ | ✅ | ❌ | ✅ | ❌ | |
| Cancel payment links | ✅ | ✅ | ✅ | ✅ | ❌ | ✅ | ❌ | |
| Manage payment links settings | ✅ | ✅ | ✅ | ❌ | ❌ | ❌ | ❌ | |
| Payouts | Activate Payouts | ✅ | ✅ | ❌ | ❌ | ❌ | ❌ | ❌ |
| View balance | ✅ | ✅ | ✅ | ✅ | ✅ | ✅ | ✅ | |
| View payouts | ✅ | ✅ | ✅ | ✅ | ✅ | ✅ | ✅ | |
| Create payout | ✅ | ✅ | ❌ | ❌ | ❌ | ❌ | ✅ | |
| Download payouts reports | ✅ | ✅ | ✅ | ✅ | ✅ | ✅ | ✅ | |
| Download or email proof of payout | ✅ | ✅ | ❌ | ✅ | ✅ | ✅ | ✅ | |
| Manage payouts settings | ✅ | ✅ | ✅ | ❌ | ✅ | ❌ | ✅ | |
| Configure settle to Payouts | ✅ | ✅ | ❌ | ❌ | ✅ | ❌ | ❌ | |
| Payment Page | View Payment Page > My Page | ✅ | ✅ | ✅ | ✅ | ✅ | ✅ | ❌ |
| Activate Payment Page and manage settings | ✅ | ✅ | ✅ | ❌ | ❌ | ❌ | ❌ | |
| Checkout | Enable webhook signing | ✅ | ✅ | ✅ | ❌ | ❌ | ❌ | ❌ |
| MOTO | Process MOTO payments | ✅ | ✅ | ❌ | ❌ | ❌ | ❌ | ❌ |
| View MOTO credentials | ✅ | ✅ | ❌ | ❌ | ❌ | ❌ | ❌ | |
| Payment methods | Activate or pause payment methods | ✅ | ✅ | ✅ | ❌ | ❌ | ❌ | ❌ |
| Connect | Manage connection settings | ✅ | ✅ | ✅ | ❌ | ❌ | ❌ | ❌ |
| Reporting | Manage reconciliation and settlement reconciliation | ✅ | ✅ | ❌ | ❌ | ✅ | ❌ | ❌ |
| Settings | View and edit business details | ✅ | ✅ | ✅ | ❌ | ✅ | ❌ | ❌ |
| View and edit business logo | ✅ | ✅ | ✅ | ❌ | ✅ | ❌ | ❌ | |
| View account details | ✅ | ✅ | ✅ | ❌ | ✅ | ❌ | ❌ | |
| View settlement and billing details | ✅ | ✅ | ❌ | ❌ | ✅ | ❌ | ❌ | |
| User management | ✅ | ✅ | ❌ | ❌ | ❌ | ❌ | ❌ | |
| View user logs | ✅ | ✅ | ❌ | ❌ | ❌ | ❌ | ❌ | |
| Leave business | ❌ | ✅ | ❌ | ❌ | ❌ | ❌ | ❌ |
My Profile
Enable two-factor authentication
Two-factor authentication requires that a user present two or more pieces of evidence (knowledge, possession, or inherence) to gain access to a website or application. The Peach Payments Dashboard supports two-factor authentication using apps like Google Authenticator, Microsoft Authenticator, and so on.
Enabling two-factor authentication requires that users log in using magic link or their email address and password and then prove the possession factor by entering the authentication code retrieved from their authenticator app.
To enable two-factor authentication:
- In the My Profile tab, scroll down to the Two-factor authentication section, and click the OTP toggle to the on position. A pop-up appears highlighting that 2FA is now activated and that you need to complete enrolment during your next login.
- On your next login, open the authenticator app on your phone. The following instructions describe the Google Authenticator process, but it should be similar for other authenticator apps:
-
Tap the + button and then tap Scan a QR code.
-
Scan the QR code that the Peach Payments Secure Your Account page is displaying.
-
Note the 6-digit authentication code for Peach Payments.
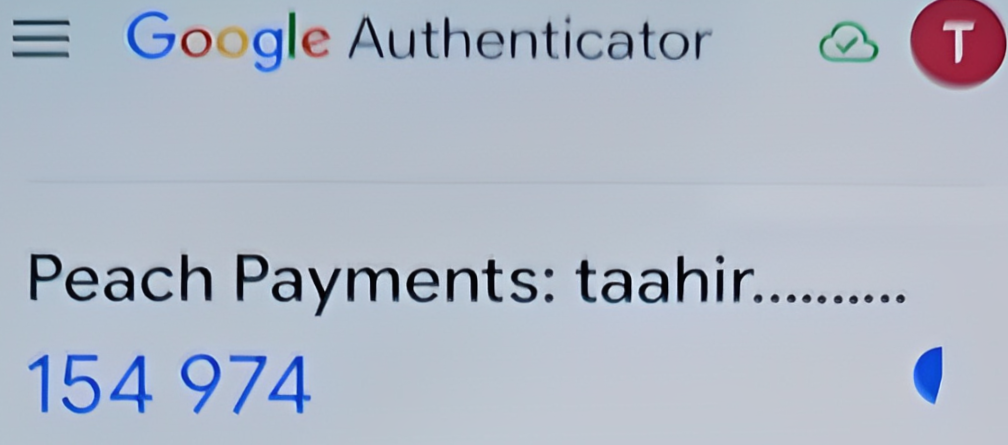
Example Google Authenticator authentication code.
-
- In your browser, enter the authentication code from your authenticator app and click Continue.
Each time you log in to the Peach Payments Dashboard, you must authenticate using the authentication code from your authenticator app.
If you're having trouble with your two-factor authentication, ask an owner or administrator user to disable two-factor authentication for your account. When this is done, log in to the Peach Payments Dashboard and enable two-factor authentication for your account again.
Leave business
Only certain roles can leave a business.
To leave a business:
-
In the My Profile tab, scroll down to the Businesses section, and click the three dots next to the business that you want to leave.
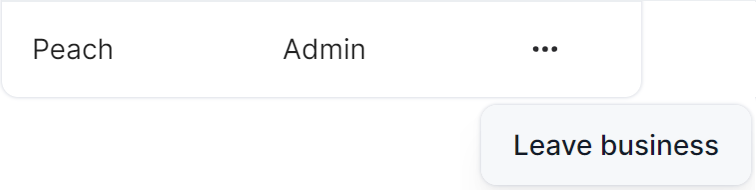
Leave business.
-
Click Leave business.
You lose access to the business.
Business
Upload your business logo
Only certain roles can upload or edit your business logo.
- In the Business tab, click Choose file in the Business logo section.
- Select your business's logo, adhering to the following restrictions:
- Format: PNG or JPEG
- Size: 3 MB or less
- Aspect ratio: 4.22:1 (width x height) and at least 152 pixels by 36 pixels
- White space: Minimal
- Click Open.
Your logo appears in the Business logo section and a preview of what Checkout looks like appears on the right. The Checkout user interface and payment link emails now display your business logo.
Delete your business logo
Only certain roles can delete your business logo.
In the Business tab, click the bin icon in the Business logo section. This removes your logo and updates the preview to show your business name.
Add or update your business website URL
Only certain roles can add or update your business website URL.
- In the Business tab, scroll down to the Business details section and click Add URL if you haven't set your website URL or Request website URL change to change your existing website URL.
- If you're adding a website URL for the first time, enter your website URL and click Save. If you're changing your existing website URL, enter your new website URL, select the reason for changing the URL, and click Request change.
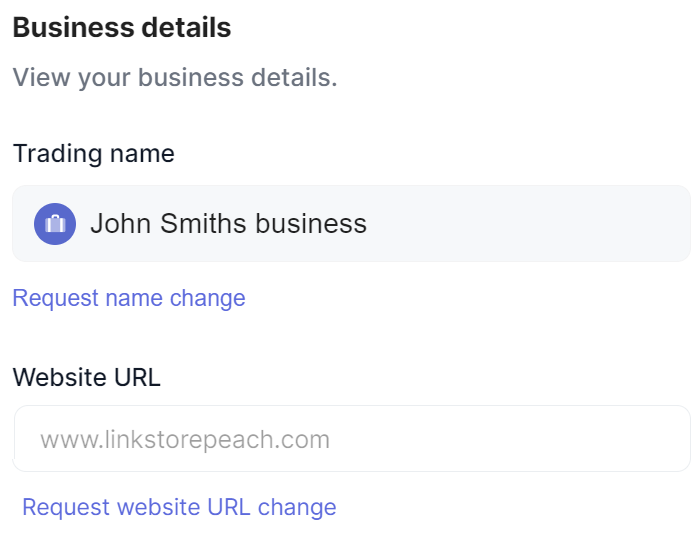
Change business website URL.
Peach Payments sets the business website URL to pending until the risk team has reviewed the new website, whereafter it takes effect.
Account
Find your Peach ID
To open your Peach Payments statement, you need your Peach ID.
In the Account tab, find your Peach ID in the Account details section.
View your account contacts
When you registered with Peach Payments, you provided contact details for different functions, including:
- Business contact
- Financial contact
- Developer contact
- Reconciliation contact
Depending on the nature of the communication, Peach Payments emails the respective contact.
Settlements & Billing
Only certain roles can view the Settlements & Billing tab.
View billing and settlement bank details
In the Settlements & Billing tab, view your billing bank account details in the Billing account section and your settlement bank account details in the Settlement account section.
To update your billing or settlement bank account, or to change your debit order mandates, contact support.
Set custom settlement deposit reference
You can set a custom deposit reference that appears on your bank statement for settlement deposits from Peach Payments. This helps you identify and reconcile settlements more easily.
You cannot set a custom settlement deposit reference if you've configured your settlements to be paid directly into your Payouts float account.
- Log in to the Peach Payments Dashboard.
- In the left navigation menu, click Settings.
- Select the Settlements & Billing tab.
- Scroll down to the Settlement custom deposit reference section, enter your custom deposit reference, and click Update details.
Going forward, your bank statement includes this reference for the Peach Payments settlement deposit.
Team
The Dashboard's user management functionality enables you to add, edit, or remove users' access to the Dashboard.
Only certain roles can manage users.
Add team members
To add a user to the Dashboard:
- In the Team tab, click Add members in the upper right of the screen.
- Enter the members' email addresses, pressing Enter after each address.
- Select the roles that you want all the members to have. You can combine the following roles:
- Developer, operations, and finance.
- Operations, finance, and Payouts.
- Click Send invites.
Your team members receive email invites enabling them to log in to the Dashboard.
Edit a team member
You cannot change the owner's role. To do so, you must first transfer ownership to another user, then change the old owner's role.
To edit a user's role:
- In the Team tab, select one of your team members.
- In the details panel that appears, select the new roles that you want the user to have. You might need to clear certain roles to have access to the other roles, for example, you cannot combine the admin role with any other role.
- Click Apply.
The team member gains the new roles.
Remove a team member
You cannot remove the owner but can transfer ownership to another user. If there is one user, invite another user, transfer ownership to that user, and then remove the old owner.
To remove a user from the Dashboard:
- In the Team tab, select one of your team members.
- In the details panel that appears, click the three dots in the upper right of the screen.
- Click Remove.
- In the confirmation window, click Continue.
The team member no longer has access to the business in the Dashboard.
Enable two-factor authentication for all team members
In the Team tab, click the Enable two-factor authentication for all team members (recommended) toggle to the on position.
The next time your team members log in to the Peach Payments Dashboard, they must enrol for two-factor authentication as described in the Enable two-factor authentication section.
Disable two-factor authentication for a team member
If someone on your team has lost access to their authenticator app and cannot access the Dashboard, owner and administrator users can disable two-factor authentication for that user:
- In the Team tab, select one of your team members.
- In the details panel that appears, click the three dots in the upper right of the screen.
- Click Disable 2FA.
- In the Disable 2FA window that appears, click Continue.
The team member can now log in without two-factor authentication.
Manage team members for multiple businesses
If you've got owner or administrator access to an organisation that includes multiple businesses, you can manage team members for all the businesses as follows:
-
In the top menu, click Businesses.
-
In the Business filter window that appears, search for and select the businesses whose team members you want to manage. To manage the team members for all businesses that you have access to, select the All businesses check box.
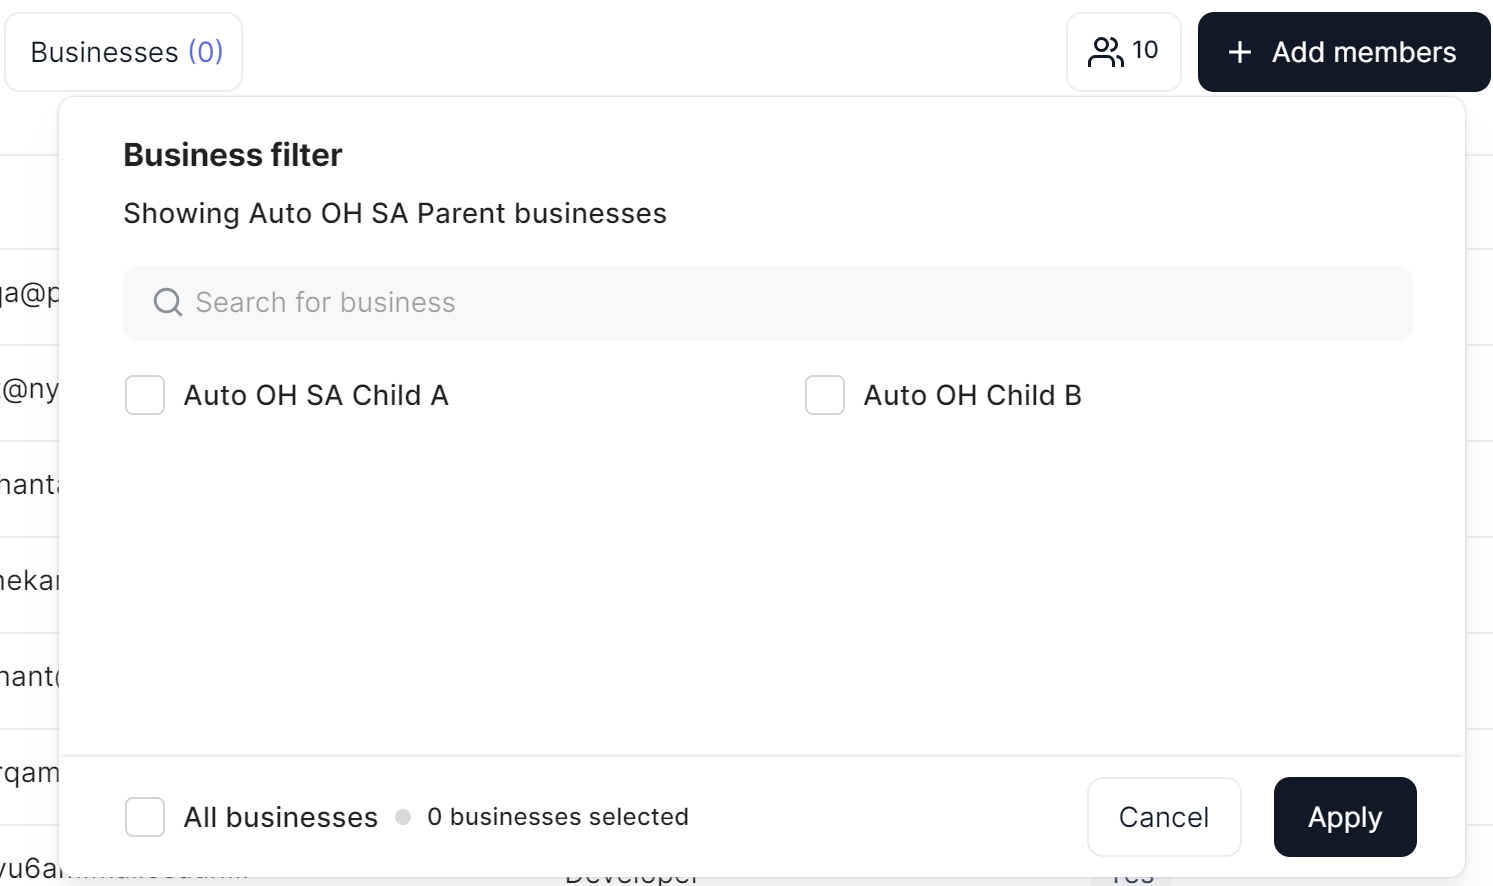
The business filter enables you to select the businesses whose team members you want to manage.
-
Click Apply.
The Dashboard updates to show team members for all the selected businesses. The team listing now includes a Business access column showing how many businesses the team member has access to. If a team member has more than one role, the team listing includes a row for each role and shows how many businesses the team member has that role in.
To see which businesses a user has access to, click the user and then select the Businesses tab.
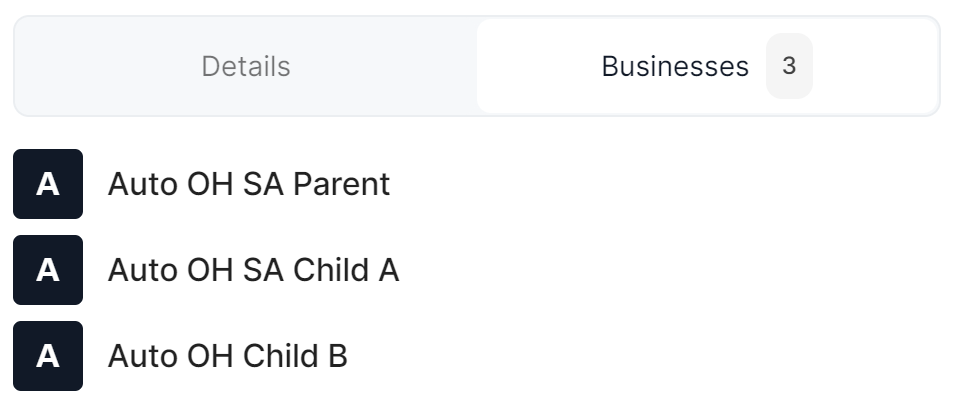
The Businesses tab enables you to view which businesses the user has access to.
If you've got access to an organisation with multiple businesses:
-
When adding team members, you can add them to multiple businesses.
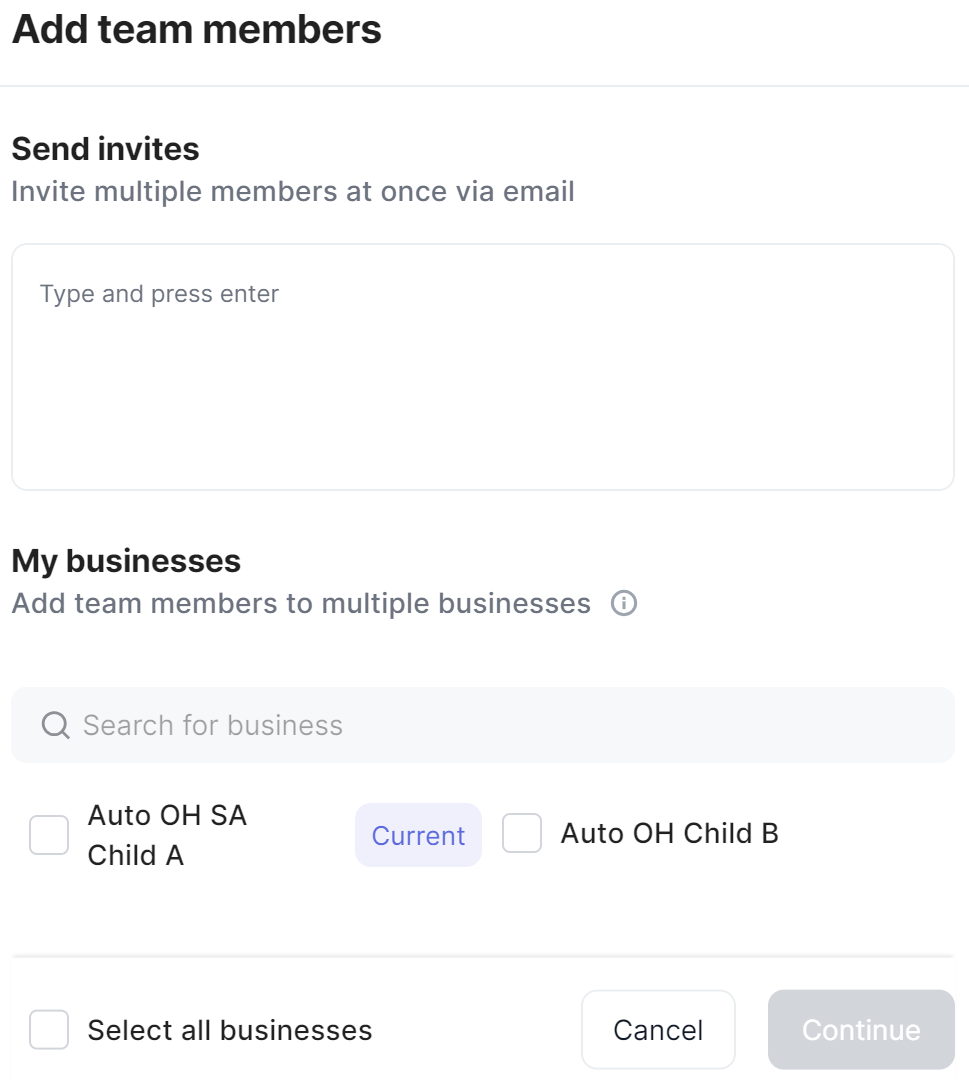
Add team members to multiple businesses.
-
When editing a team member's role, you can edit their role for multiple businesses.
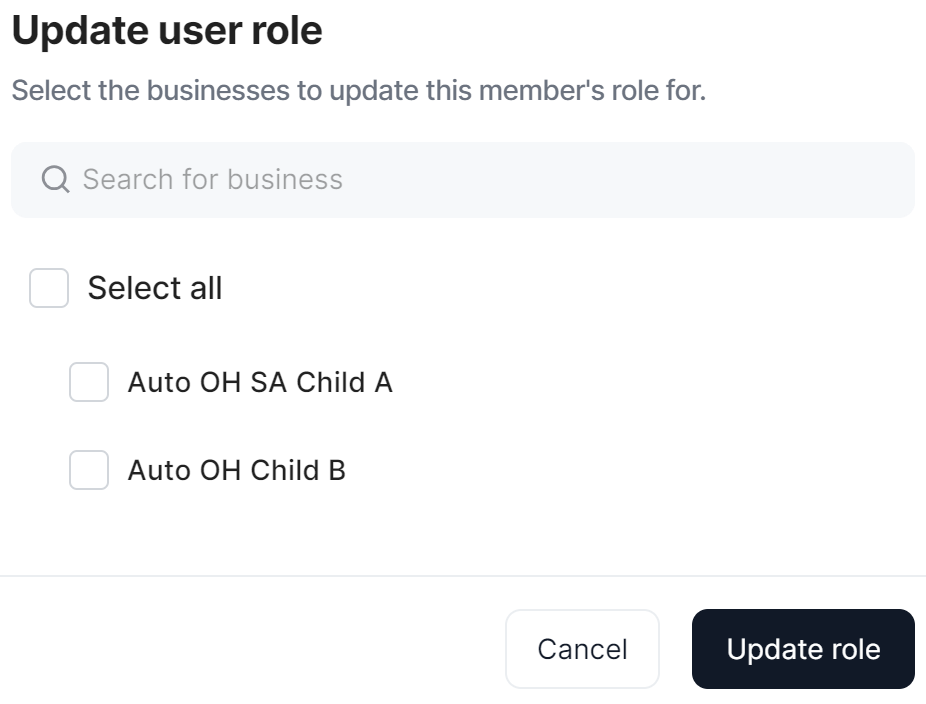
Edit a team member's role for multiple businesses.
-
When removing team members, you can remove them from multiple businesses.
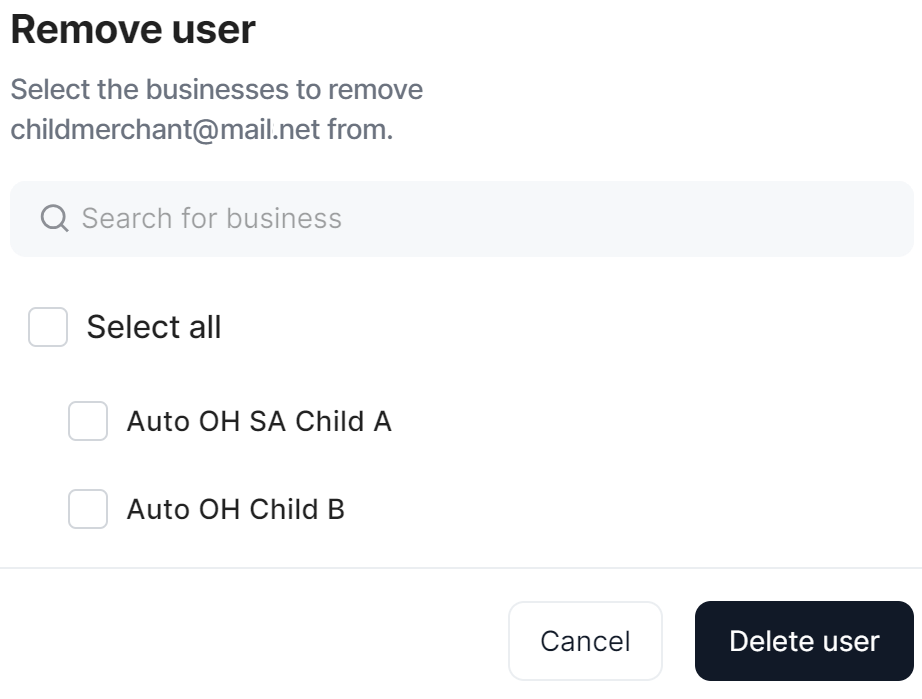
Remove team members from multiple businesses.
User logs
Only certain roles can view user logs.
The Dashboard's user logs functionality enables you to view who performed certain actions.
Clicking a user log entry provides comprehensive details on the action.
Search logs
The user logs search bar enables you to search by:
- Email address: Returns all actions performed by a specific user's email address.
- Event ID: Returns the action related to the event ID. Event IDs look similar to
9898f232-364a-4c22-99ae-5d994b47746z.
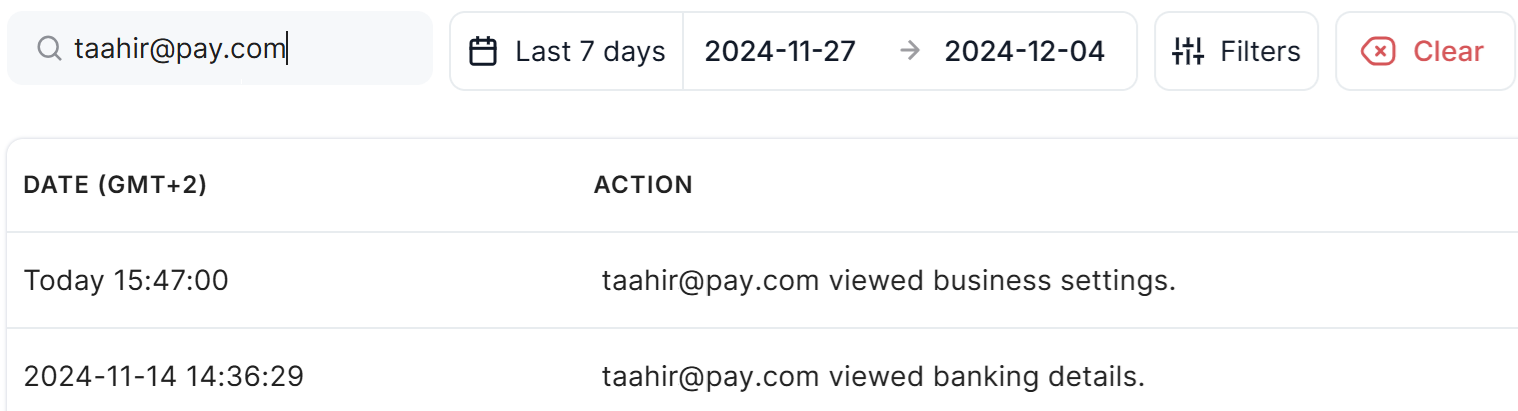
Logs for a specific email address.
Filter logs
The Dashboard supports filtering by multiple fields, including user email addresses, actions, and categories:
-
Click Filters to expand the filter section.
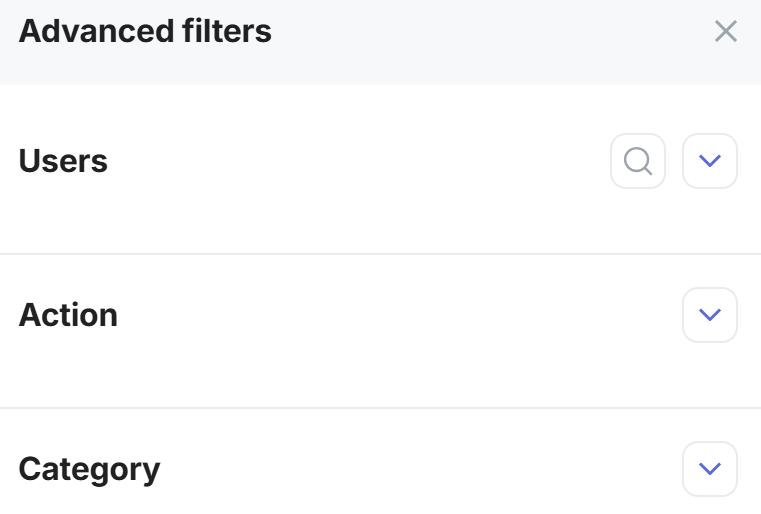
You can filter by multiple categories.
-
Expand the Users section and select the users that you want to filter for, for example,
[email protected]and[email protected]. The Users section also contains a search bar that you can use to search for specific email addresses. You cannot use the search bar to search for actions or categories. -
Expand the Action section and select the actions that you want to filter for, for example, Activate payment method.
-
Expand the Category section and select the categories that you want to filter for, for example, Payment Methods.
-
Click Apply to apply the filters.
This applies the filters that you selected.
Click the Clear button to remove all the filters. You can also click the Reset button in the Advanced filters panel to reset the filters.
Updated 2 days ago