Authentication
Overview
To create a checkout instance, you need an access token from the Authentication API. To get the access token, you need your API credentials, which you can get from the Dashboard.

Authentication flow.
The authentication service URL and other service URLs are available in the API endpoints section.
-
Make a POST
{peach-auth-service}/api/oauth/tokenrequest to the Authentication API with your client ID, client secret, and merchant ID to generate an access token.curl --location --request POST '{peach-auth-service}/api/oauth/token' --header 'content-type: application/json' --data-raw '{ "clientId": "{{clientId}}", "clientSecret": "{{clientSecret}}", "merchantId": "{{merchantId}}" }' -
The Authentication API responds with an access token.
{ "access_token": "<access token>", "expires_in": "<token expiry duration in seconds>", "token_type": "Bearer" } -
Make calls to the API with the access token in the authorisation header, for example,
Authorization: Bearer {access_token}.- You can reuse the access token from step 2 for multiple API calls.
- When the token expires, you need to generate a new one.
See the Postman collection for more details on API authentication.
Checkout request security
Uniqueness of request
Each POST request to /v2/checkout requires a unique nonce parameter so Peach Payments can treat every checkout creation request as distinct. You manage nonces and ensure that they are unique for each request made to the /v2/checkout endpoint. This helps identify and prevent duplicate requests from you or from unauthorised third parties.
Allowlist domains
All URL domains that execute the API POST request to Checkout require allowlisting for added security.
Add a domain to the allowlist
- Log in to your Peach Payments Dashboard.
- In the left navigation menu, click Checkout.
If you don't have access to the Checkout section, contact support.
- Scroll down to the Allowlisted domains section and click Add domain.
- Enter the domain, subdomain, or IP that you want to add to the allowlist, then click Add.
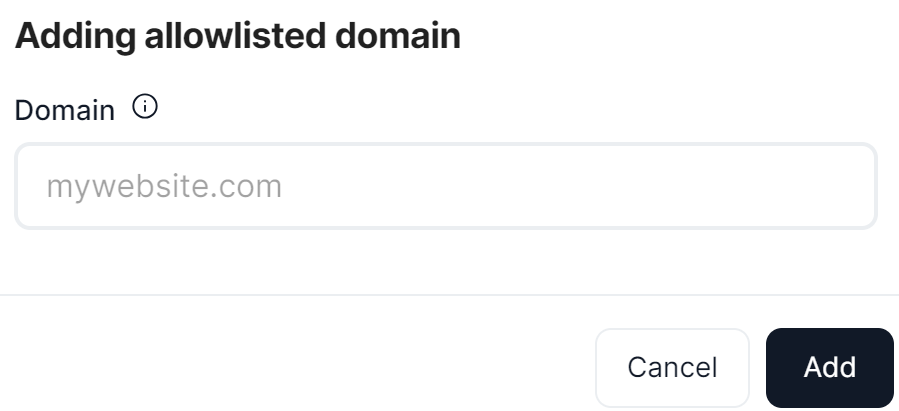
Add a domain to the allowlist.
- If the domain that you added:
- Matches the one that Peach Payments has on record for you, the domain appears in the allowlisted domains list.
- Doesn't match the one that Peach Payments has on record for you (or if Peach Payments doesn't have a domain on record), the domain enters a pending state until Peach Payments has verified the domain, whereafter the domain appears in the allowlisted domains list. If the domain fails the Peach Payments risk checks, it enters a declined state for 14 days, whereafter Peach Payments removes it from the domain list.
Adding a domain on sandbox does not need verification.
Delete a domain from the allowlist
You cannot delete pending or declined domains.
To delete a domain from the allowlist:
- Log in to your Peach Payments Dashboard.
- In the left navigation menu, click Checkout.
If you don't have access to the Checkout section, contact support.
- Scroll down to the Allowlisted domains section and click the more options icon next to the domain that you want to delete.
- Click Delete.
The domain disappears from the allowlisted domains section.
Code snippet
async function authenticate(clientId, clientSecret, merchantId) {
  let response = await fetch("<peach auth service>/api/oauth/token", {
    method: "POST",
    body: JSON.stringify({
      clientId,
      clientSecret,
      merchantId
    })
  });

  if (response.ok) {
    let body = await response.json();

    return body.access_token;
  } else {
    throw new Error("Unable to authenticate");
  }
}

async function createCheckoutId(token, body) {
  const response = await fetch("<checkout api>/v2/checkout", {
    headers: new Headers({
      "Authorization": `bearer ${token}`,
      "origin": "<base domain for site>"
    }),
    method: "POST",
    body: JSON.stringify(body),
  });

  if (response.ok) {
    return await response.json();
  } else {
    throw new Error("Unable to retrieve Checkout Id.");
  }
}

const bearerToken = await authenticate(clientId, clientSecret, merchantId);

const checkout = await createCheckoutId(bearerToken, body);
import os
import random
import string
import requests
from http import HTTPStatus
AUTHENTICATION_ENDPOINT = os.environ.get("PEACH_AUTHENTICATION_ENDPOINT")
CLIENT_ID = os.environ.get("PEACH_CLIENT_ID")
CLIENT_SECRET = os.environ.get("PEACH_CLIENT_SECRET")
MERCHANT_ID = os.environ.get("PEACH_MERCHANT_ID")
DOMAIN = os.environ.get("PEACH_DOMAIN")
REDIRECT_URL = os.environ.get("PEACH_REDIRECT_URL")
CHECKOUT_ENDPOINT = os.environ.get("CHECKOUT_ENDPOINT")
def get_access_token() -> str:
response = requests.post(
AUTHENTICATION_ENDPOINT,
headers={"Content-Type": "application/json"},
json={"clientId": CLIENT_ID, "clientSecret": CLIENT_SECRET, "merchantId": MERCHANT_ID},
)
# Check if the request was successful
if response.status_code == HTTPStatus.OK:
# Extract the access token from the response
access_token = response.json().get("access_token")
else:
# Handle the error
access_token = ""
return access_token
def get_checkout_id(access_token: str) -> str:
# Call the Checkout endpoint to get a checkout ID for use on the frontend.
headers = {
"Content-Type": "application/json",
"Origin": DOMAIN,
"Referer": DOMAIN,
"Authorization": f"Bearer {access_token}",
"accessToken": access_token,
}
body = {
"authentication": {"entityId": ENTITY_ID},
"merchantTransactionId": "INV-0000001",
"amount": 100,
"currency": "ZAR",
"paymentType": "DB",
"nonce": "".join(random.choices(string.ascii_uppercase + string.digits, k=16)),
"shopperResultUrl": REDIRECT_URL,
}
response = requests.post(
f"{CHECKOUT_ENDPOINT}/v2/checkout",
headers=headers,
json=body,
)
# Check if the request was successful
if response.status_code == HTTPStatus.OK:
# Extract the access token from the response
checkout_id = response.json().get("checkoutId")
else:
# Handle the error
checkout_id = ""
return checkout_id
access_token = get_access_token()
checkout_id = get_checkout_id(access_token)