Magento
Connect Peach Payments to your Magento store.
Peach Payments offers two Magento plugins, a traditional plugin and a progressive web application (PWA) plugin, which allow you to accept online payments using all the payment methods offered by Checkout.
The Magento payment extensions redirect to a payments page hosted by Peach Payments. Recurring and one-click card payments occur through a JavaScript widget that loads in your Magento store.
Merchants that have a custom frontend and a Magento backend must use the PWA plugin.
Overview
| Item | Description |
|---|---|
| Countries | South Africa, Kenya, and Mauritius. |
| Recurring payments | Supports recurring payments through the paid-for ParadoxLabs Adaptive Subscriptions plugin; for plugin version support, see the compatibility matrix. For more information on how to configure your platform to accept recurring payments, see the support knowledge base. |
| One-click payments | Supports one-click payments. |
| Refunds | Supports full or partial refunds. You must refund certain payment methods manually. |
| Currencies | All currencies configured for your account. |
| Pricing | See the Peach Payments website. |
| Account activation | Requires review by Peach Payments South Africa. Contact support for assistance. |
Register account
To connect Peach Payments to your Magento store, you must have a Peach Payments account.
Install and configure the plugin
The Magento section only appears in the Connect section if it has been configured for your account. If you don't see the Magento section, contact support to configure it for your account.
-
Log in to the Peach Payments Dashboard and retrieve your Magento sandbox and live credentials.
From version 1.3.3 of the Peach Payments plugin, you can also retrieve your credentials as follows: Log in to your Magento administration dashboard, go to Stores > Configuration > Sales > Payment Methods > Other payment methods > Peach Payments - Hosted All-in-One payment solution for emerging Africa markets. > API Configuration, select your required Mode, and click Get Sandbox credentials from Peach Payments or Get Production credentials from Peach Payments. This takes you directly into the Magento section of the Peach Payments Dashboard where you can retrieve your credentials.
-
To configure a webhook, follow the instructions in the webhook documentation using the
https://{MAGENTO_BASE_URL}/pp-hosted/secure/webhookURL format. -
To add your domain to the Peach Payments allowlist, follow the instructions in the allowlist documentation.
-
Install the Magento plugin by following the instructions in one of the public GitLab repositories:
-
Log in to your Magento administration dashboard and go to Stores > Configuration > Sales > Payment Methods.
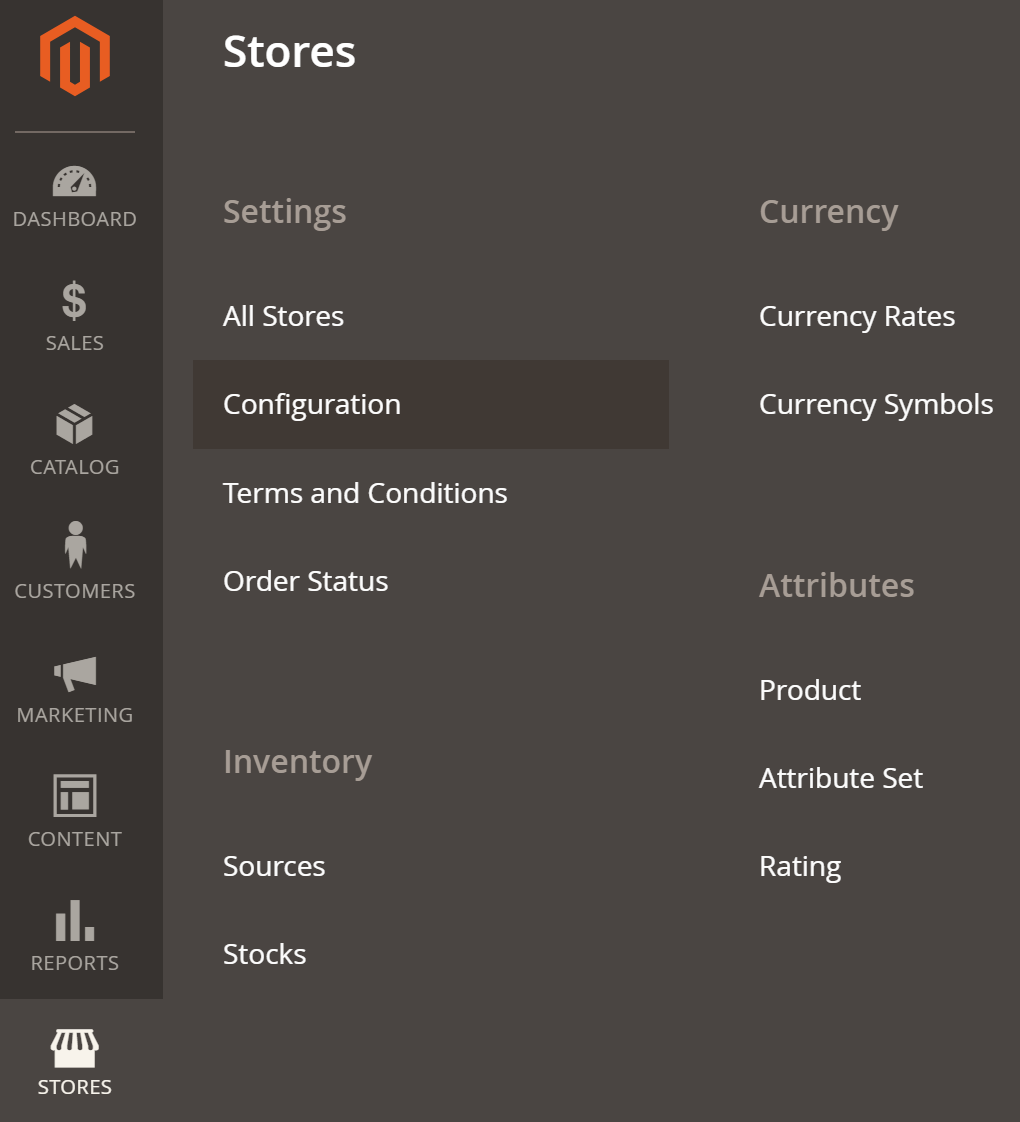
Magento admin dashboard showing the Stores settings.
-
If the Peach Payments module is not visible in the list of available payment methods, go to System > Cache Management and click Flush Magento Cache.
-
Go to Stores > Configuration > Sales > Payment Methods > Other payment methods > Peach Payments - Hosted All-in-One payment solution for emerging Africa markets. to view the available settings.
-
Expand the API Configuration section and configure the following:
- Set the Mode to Production to accept live payments or Sandbox for testing.
- Depending on the mode you've selected, enter the live or sandbox API credentials you retrieved in step 1.
-
You can redirect to the Peach Payments checkout page, embed the checkout experience on your website, or offer both options:
- To redirect to the Peach Payments checkout page, expand the Hosted Payment section and set Enable to Yes.
- Set Enable Consolidated Payments to Yes
- In the Display Methods field, select the payment methods that you want to display on the checkout screen.
- You can choose to force a default payment method if you'd prefer customers to pay with a specific payment method.
- To configure the order of the payment methods, set Show Sort Order Configurations to Yes, then number the payment methods in ascending order starting from 1. The payment method set to
1appears first in the list. - Set Show Title Configurations to Yes to customise the labels that customers see on checkout for each payment method, including the All Payments Title option (set to
More payment types - all payment methodsby default). - Set All Payments Display Description to Yes or No to show or hide the description for the All Payments payment method.
- To embed the checkout experience on your website, expand the Embedded Checkout section, set Enable to Yes, and provide a title for Embedded Checkout.
Embedded Checkout does not support certain payment methods.
- To redirect to the Peach Payments checkout page, expand the Hosted Payment section and set Enable to Yes.
-
To enable customers to pay using card directly from the checkout page (without redirecting to the Peach Payments hosted checkout page), expand the Server to Server section and:
- Set Enable to Yes.
- Enter the API credentials you retrieved in step 1 (including the recurring entity ID if you'll be offering subscriptions or one-click payments).
- Select the card types that you would like to accept.
- If you're offering subscriptions and are using the ParadoxLabs Adaptive Subscriptions plugin, set Enable Subscriptions to Yes.
-
Click Save Config.
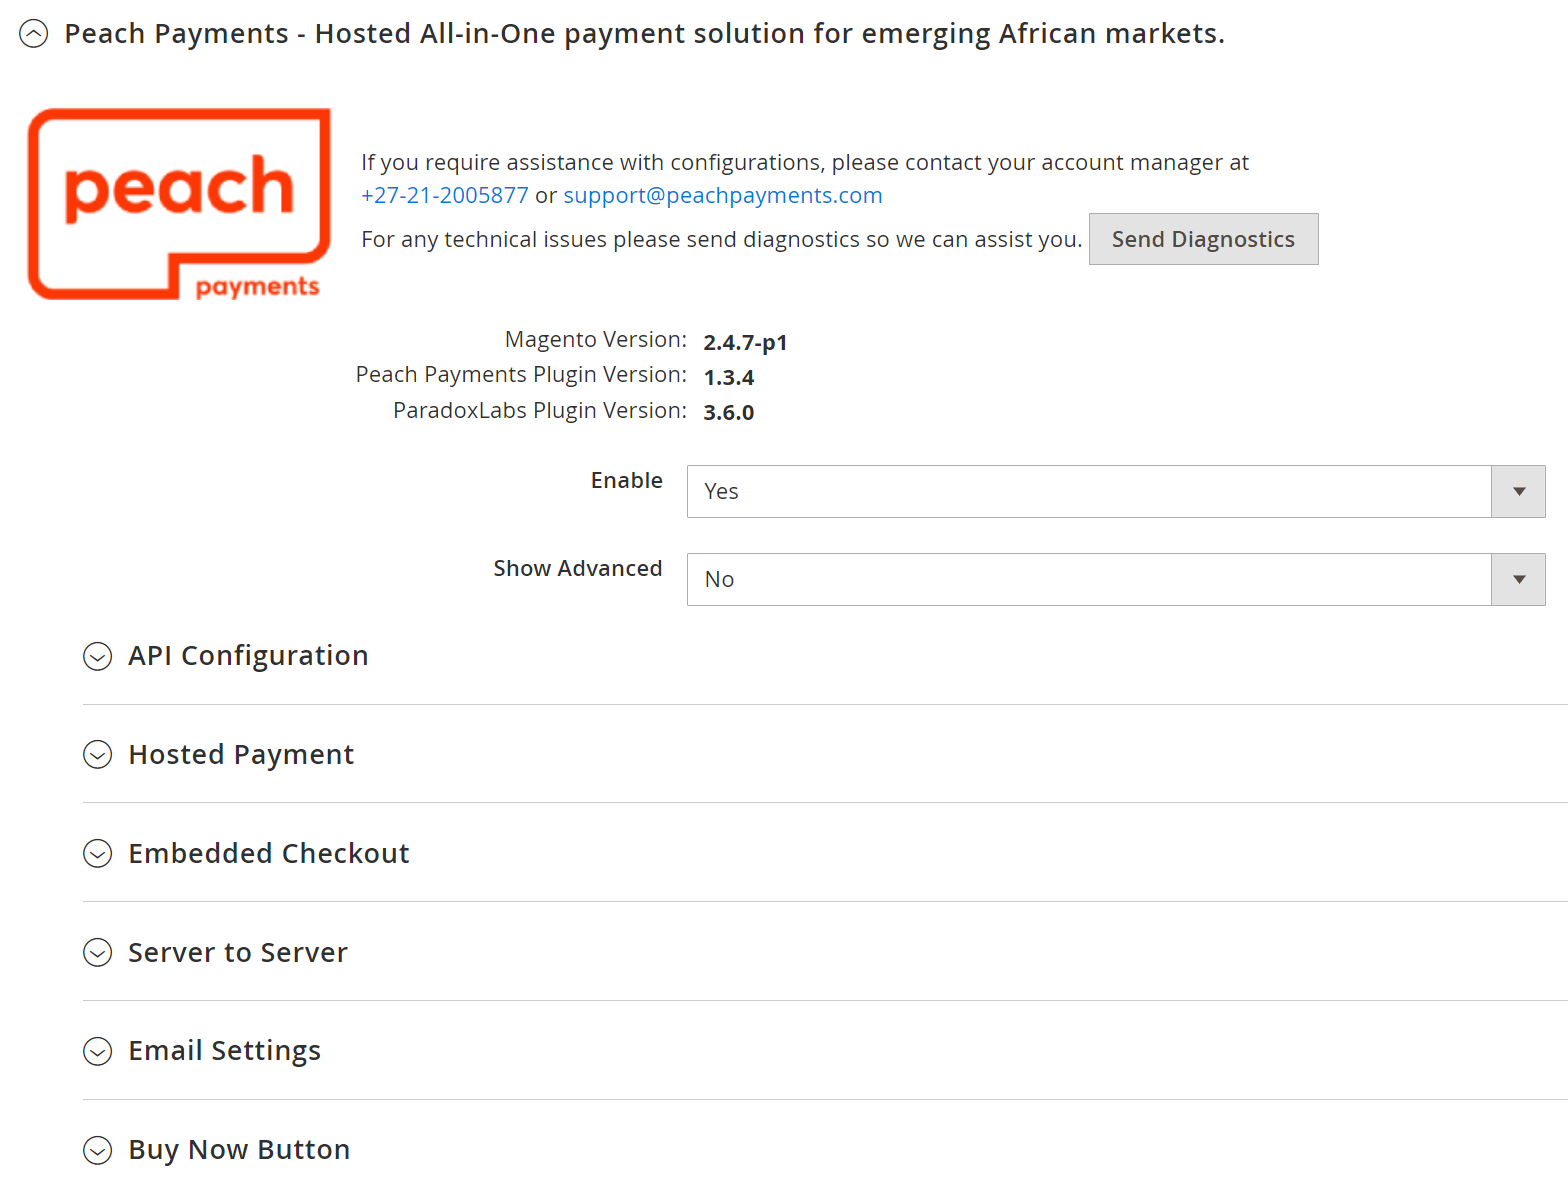
Plugin configuration options.
To learn more about PHP compatibility, available events, and GraphQL, see the plugin documentation in the public GitLab repository.
You should see Peach Payments as a payment option on checkout. Execute purchases to check the integration.
If you receive a
Merchant domain not whitelistederror when trying to make a payment, ensure that you've added your domain to the allowlist.
Tokenisation
Tokenisation enables subscriptions and one-click payments using stored cards. Tokenisation requires that you have recurring payments configured with Peach Payments. Contact support to add recurring payments to your Peach Payments account.
You must get permission from your customers before tokenising their cards.
One-click payments
To enable your customers to store cards when making purchases so that they can perform one-click payments using the stored cards, ensure that you added the recurring entity ID when completing step 10.2 of the Install and configure the plugin section.
If you are not offering subscriptions, go to Stores > Configuration > Sales > Payment Methods > Other payment methods > Peach Payments - Hosted All-in-One payment solution for emerging Africa markets. > Server to Server, set Enable Subscriptions to No, and click Save Config.
When checking out using card, your customers now have the option to store cards for one-click payments on subsequent purchases.
Subscriptions
To offer subscriptions, you must meet the following prerequisites:
- Ensure that you added the recurring entity ID when completing step 10.2 of the Install and configure the plugin section.
- Have the ParadoxLabs Adaptive Subscriptions plugin.
To configure subscriptions:
- Go to Stores > Configuration > Sales > Payment Methods > Other payment methods > Peach Payments - Hosted All-in-One payment solution for emerging Africa markets. > Server to Server, set Enable Subscriptions to Yes, and click Save Config.
- Go to Catalog > Products and click the product that you want to be a subscription product.
- Scroll to the bottom of the screen and expand the Subscription section.
- Set Enable to Yes.
- Set the frequency, length, instalment price, and adjustment price.
- Click Save.
The product is now a subscription product.
FAQ
If you run into any issues with the Magento payment extension, check the support knowledge base for the issue and solution:
- For recurring payments with the ParadoxLabs Adaptive Subscriptions plugin, can I send confirmation emails and regular invoices?
- For recurring payments with the ParadoxLabs Adaptive Subscriptions plugin, how can I tell customers that a billing attempt has failed and how can I tell them that their card is about to expire?
How do I show a ZeroPay or Mobicred instalment calculator on my store
Show answer
For ZeroPay, use this file. For Mobicred, follow their documentation.
If you can't find the issue, contact support for assistance.
Updated 2 months ago