Gravity Forms
Peach Payments offers an add-on for Gravity Forms which allows you to accept online payments using all the payment methods offered by Checkout.
Overview
| Item | Description |
|---|---|
| Countries | South Africa, Kenya, and Mauritius. |
| Recurring payments | Does not support recurring payments, only once-off payments. |
| Refunds | Supports full or partial refunds. You must refund certain payment methods manually. |
| Currencies | All currencies configured for your account. |
| Pricing | See the Peach Payments website. |
| Account activation | Requires review by Peach Payments South Africa. Contact support for assistance. |
Register account
To connect Peach Payments to Gravity Forms, you must have a Peach Payments account.
Download, install, and activate the add-on
The following instructions assume that you have Gravity Forms installed on your WordPress site.
Download, install, and activate the Peach Payments add-on for Gravity Forms as follows.
Download the Peach Payments add-on from the Peach Payments website.
-
Log in to your WordPress administration dashboard.
-
In the left navigation menu, click Plugins > Add New Plugin.
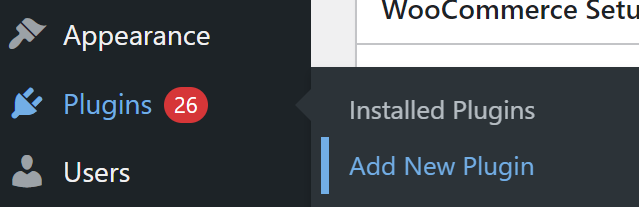
Plugins > Add New Plugin.
-
At the top of the page, click Upload Plugin > Choose File, select the add-on ZIP file that you downloaded, and click Open. Then click Install Now.
-
After the plugin installation is complete, click Activate Plugin.
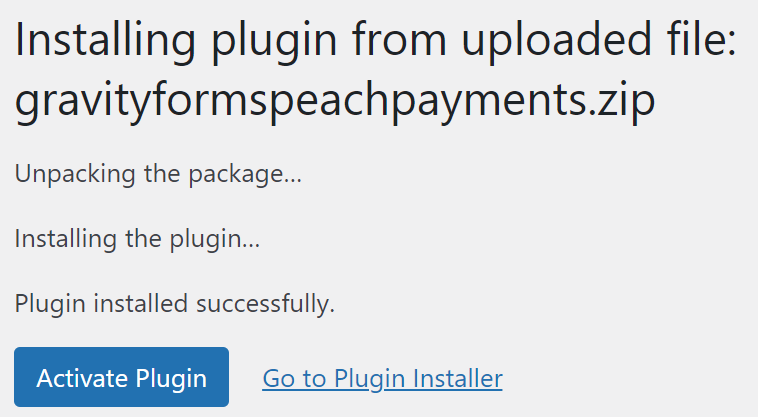
Activate Plugin button.
The Peach Payments add-on for Gravity Forms is now active.
Configure the add-on
Before accepting live payments, Peach Payments strongly recommends that you test using your sandbox credentials.
Configure the Peach Payments add-on for Gravity Forms as follows:
-
Log in to your WordPress administration dashboard.
-
In the left navigation menu, click Forms > Settings.
-
Go to the Peach Payments tab.
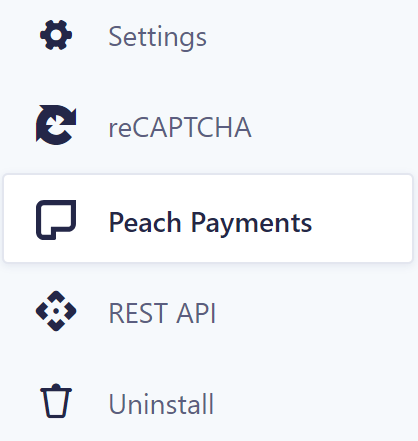
Peach Payments tab.
-
To test before going live, use sandbox credentials when completing the steps below and set Transaction Mode to Integrator Test. To accept live payments, set Transaction Mode to Live.
-
Retrieve your credentials from the Peach Payments Dashboard and enter the required information:
If you don't have access to the Checkout section or can't find your credentials, contact support.
- Secret Token.
- 3DSecure Channel ID: Also called the entity ID.
-
Click Save Settings.
The Peach Payments add-on for Gravity Forms is now configured.
Add pricing fields to a form
Pricing fields become available when you install the Peach Payments add-on. Add these fields to a form to accept payments.
The following instructions describe how to add payment acceptance to an existing form.
-
In the left navigation menu, click Forms > Forms.
-
Hover over the form that you want to add payment acceptance to and click Edit.

Edit an existing form.
-
In the fields section on the right, scroll down and expand the Pricing Fields section.
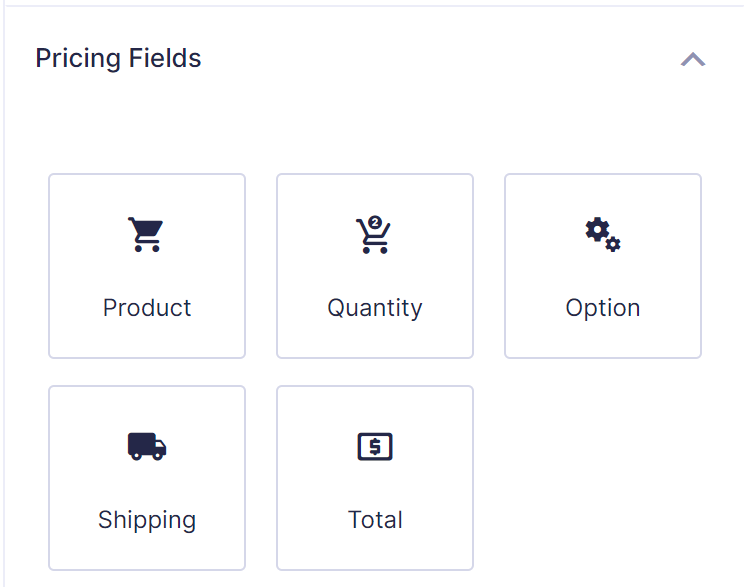
Pricing Fields section.
-
Drag the fields that you want to use onto your form, ensuring that you include the mandatory Product and Total fields.
-
Click Save Form.
Configure Peach Payments feeds
Feeds allow you to connect Gravity Forms with your Peach Payments account.
- In the left navigation menu, click Forms > Forms.
- Hover over the form that you want to add payment acceptance to, then hover over Settings, and click Peach Payments.
- Click Add New.
- Enter a name for the feed.
- Select the Products and Services transaction type.
- Select Form Total from the Payment Amount list.
- In the Other Settings section, map your other fields to the appropriate form fields.
- Click Save Settings.
Embed the form on a page
-
Create or edit the WordPress page on which you want to place your form.
-
Click the spot where you want to embed the form and type
/. -
Click Gravity Forms.
Gravity Forms option.
-
Select the form that you want to embed.

Select your form.
-
Click Update to update the page.
The form is now available on your website and your customers can pay using the form.
Go to Forms > Entries to view successful form entries.
FAQ
How do I enable debugging mode to troubleshoot issues
Show answer
Log in to your WordPress administration dashboard. In the left navigation menu, click Forms > Settings. Go to the Peach Payments tab, scroll to the bottom, and select the Peach Payments Debug option. Click Save Settings. Ensure that you protect the log files by adding an htaccess file in the log file directory. The add-on stores the log file in /wp-content/plugins/gravityformspeachpayments/peach.log. If you're experiencing issues with the Peach Payments add-on, ensure that you share this log file with Peach Payments support when you log your support issue.
My customers are attempting to pay, but the payments are not going through; why is this happening
Show answer
Double-check that you entered the correct Peach Payments credentials into the form settings. Try using your sandbox credentials first.
My customers are attempting to submit forms, but errors are occurring; how can I troubleshoot this issue
Show answer
Ensure that you have configured the Peach Payments feeds as described above.
Updated about 2 months ago